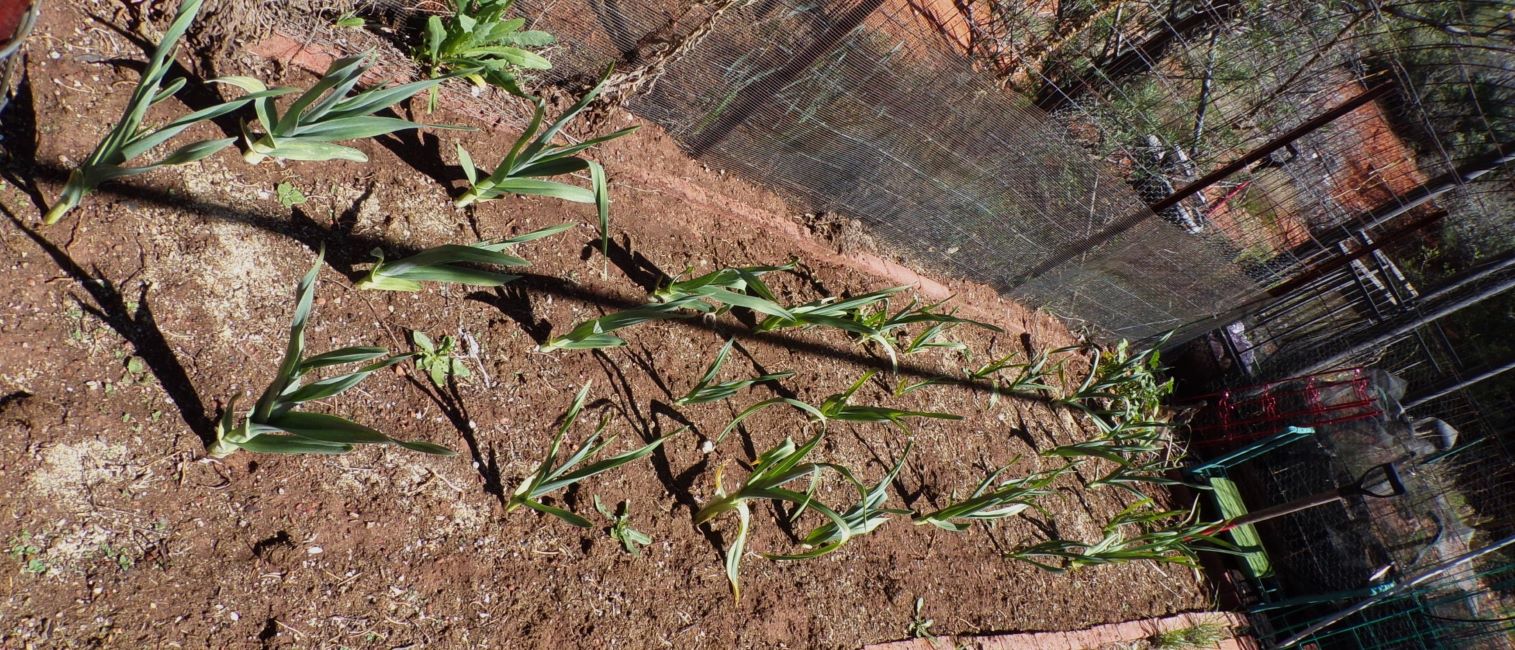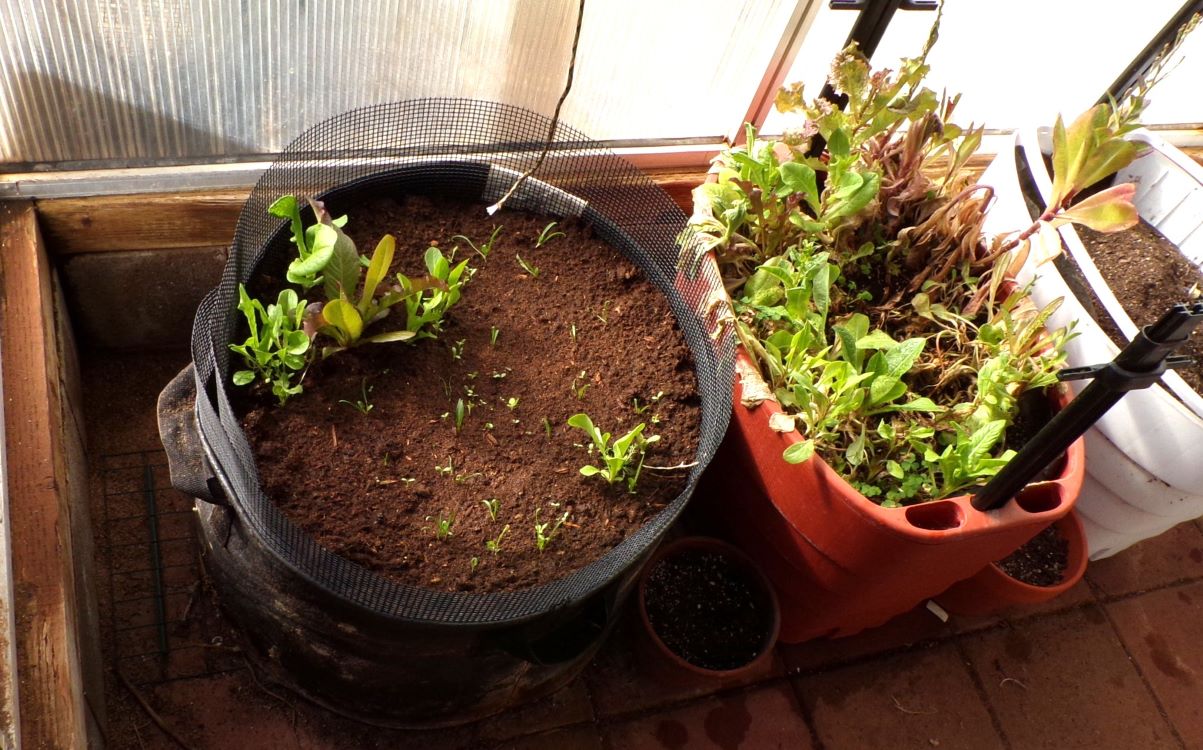
First, it turned out to be an easy task to figure out which of the unmarked seed lots were Calendula (they are only this tall) from the Sunflower (they are THIS tall!).
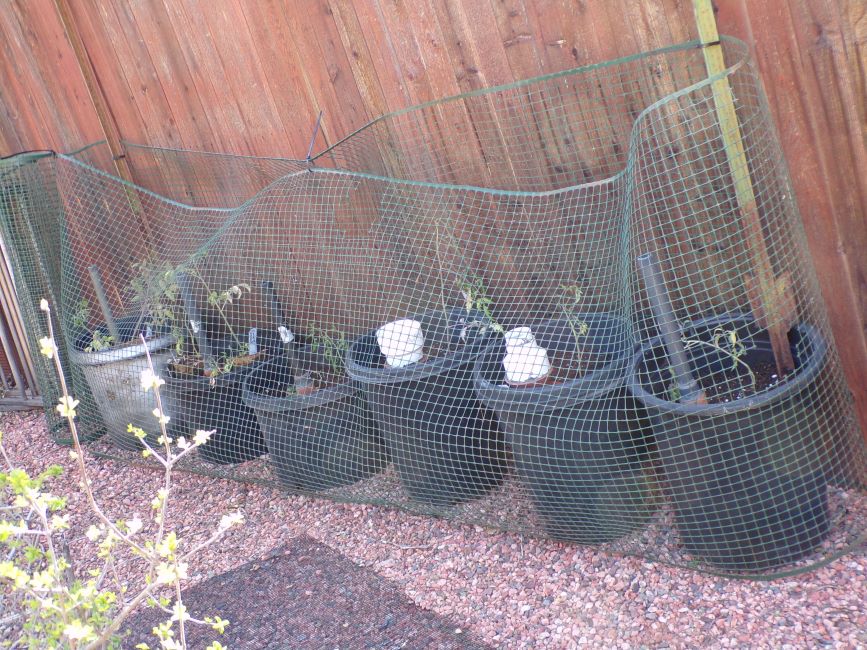
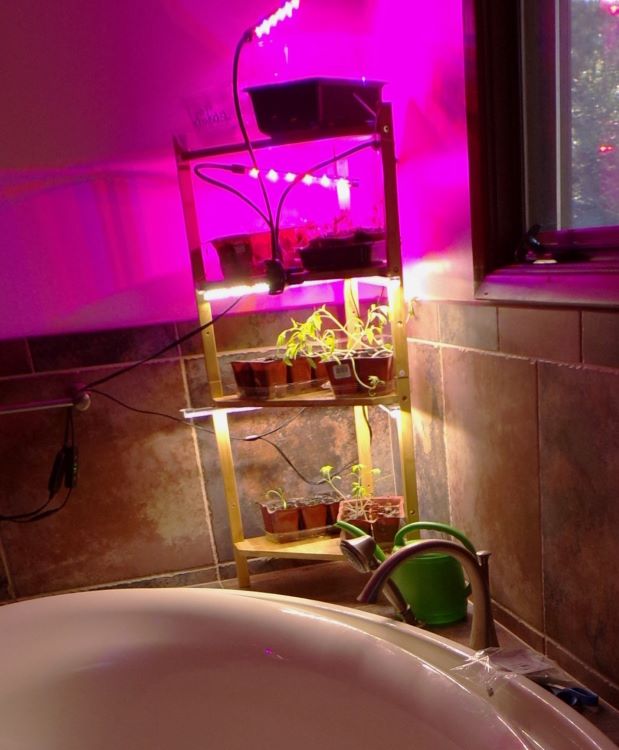
Now see a couple of basil breaking through and so far only one Zucchini showing itself. What surprises me is that the bean seeds planted the same day as the ones in the house have yet to show themselves! The house temperature is a pretty constant 65-74F, while the greenhouse does vary from 45 to 100! But in general the beans like the warm temps and know the pot holds that heat from the day time through the evening hours.
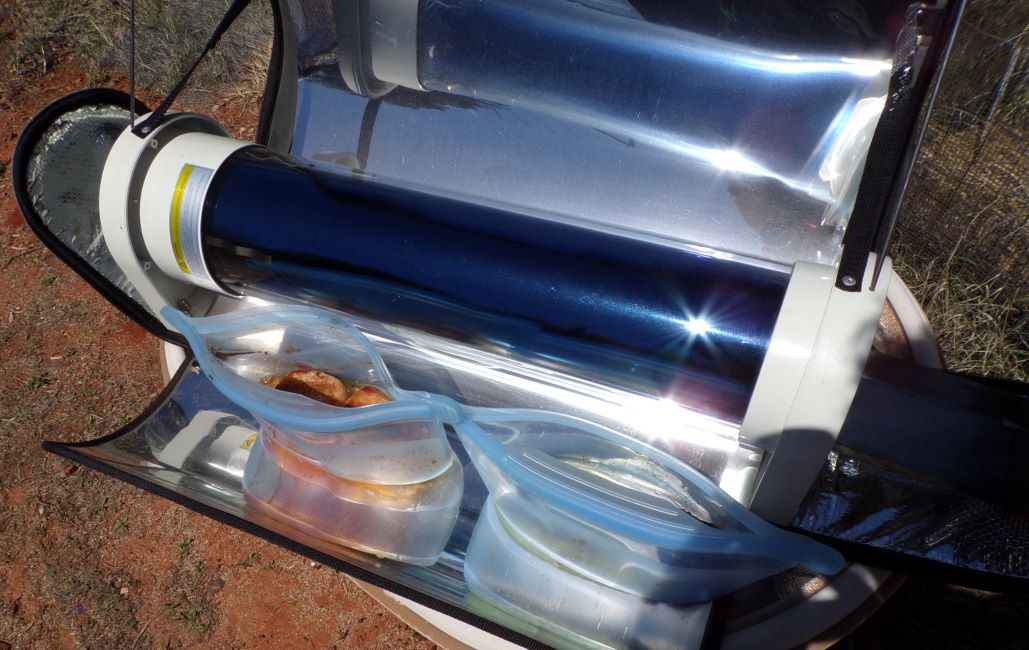
Had cooked a couple of spaghetti squash in the solar oven, swapped them out for a Pork roast. The spaghetti squash got seeded and dried. The pork roast is being made into pulled pork for dinner today, the rest will be canned for another day! Did have a partial #10 can of freeze dried butternut squash. Did not like the texture of the squash when cooked, so it was sitting while I pondered what to do with it. Finally thought I’d just rehydrate and boil it down and put it in the dehydrator with the spaghetti squash. Then mix that with the other squash that is dehydrated. But it was just so little when it began to cook down that I switched gears and instead made what turned out to be 5 pints of butternut squash soup.
Decided at some point that my dehydrator was too small, but instead of replacing it, got another. In this case a 4 shelf Excalibur. This is a surprisingly different unit than my other. Decidedly smaller, lower power, different type door. If you don’t know Excaliburs, the door is a simple lift off. This one slides up and down in a channel. This size happens to be perfect for the space I’ve got, its very quiet – probably because the motor is enclosed, and it will allow me to keep dehydrating food while I’m making yogurt. Or be able to dry onions and strawberries at the same time.
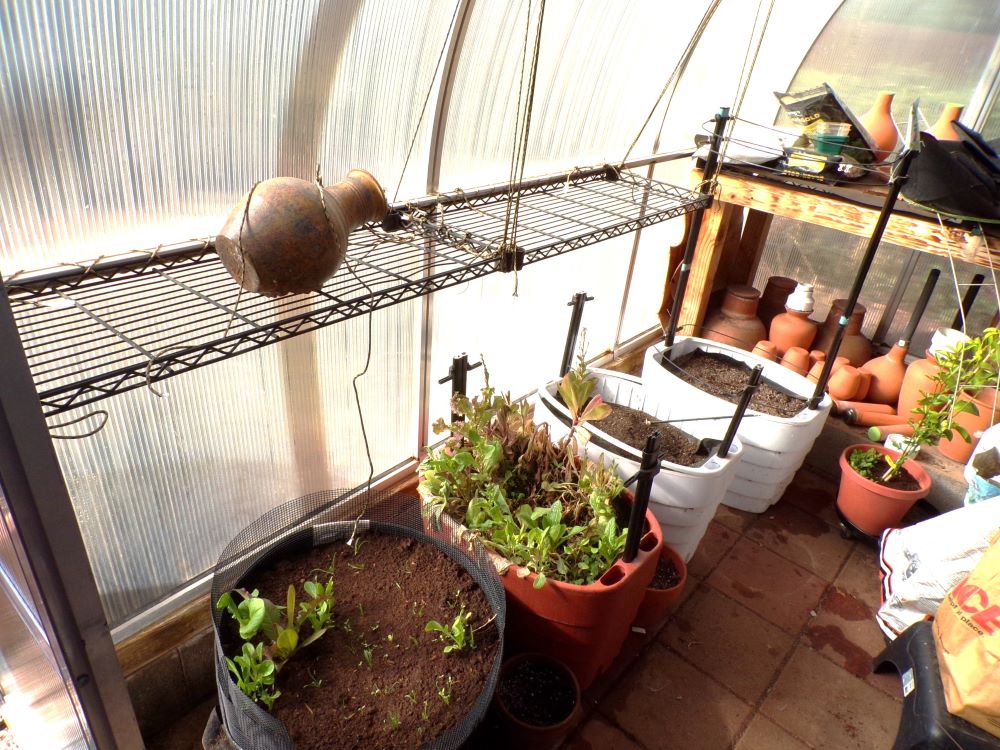
Anyway, the weekend also included some garden work, getting the space ready where I’m going to put my containers for growing corn. Mixed up some soil – the last of the mix I’d made for the tomatoes – and used some for a mint plant picked up on Freecycle and to pot up a couple of Ivy Leaf Geraniums for hanging in the courtyard this summer. Have all the ingredients to mix up a whole lot more for the corn and other plants.
Have finally decided where I’m going to put my Meyer Lemon. Have a HUGE clay pot out there which will be its ultimate home, but for right now, will put something in there, and re-pot the lemon in something larger than its in, but will sit propped up in the big pot. This will help me know if its a good place for it. Once it ultimately goes into that pot it will be forever!
As I write this, it doesn’t seem like a lot got done, but of course there was the usual laundry, shopping, and cooking. Plus I don’t move as fast as I used to, and did spend the evenings in my chair either napping like an old lady or reading.
Oh well, its back to work while double timing the other stuff. Have to test floats for carburetors and can the rest of the pulled pork!